Comprehensive Guide: Mastering the Infrared Thermometer
This comprehensive guide explores the function, applications, and critical technical specifications of the Infrared (IR) Thermometer. As a vital non-contact diagnostic tool, the IR thermometer infers surface temperature from thermal radiation, offering instant readings crucial for professional efficiency and safety. The article details key purchasing factors, including the Distance-to-Spot Ratio (D:S), which determines measurement accuracy based on distance, and Emissivity (ϵ), which must be understood (and ideally adjustable) to accurately measure various surface materials.
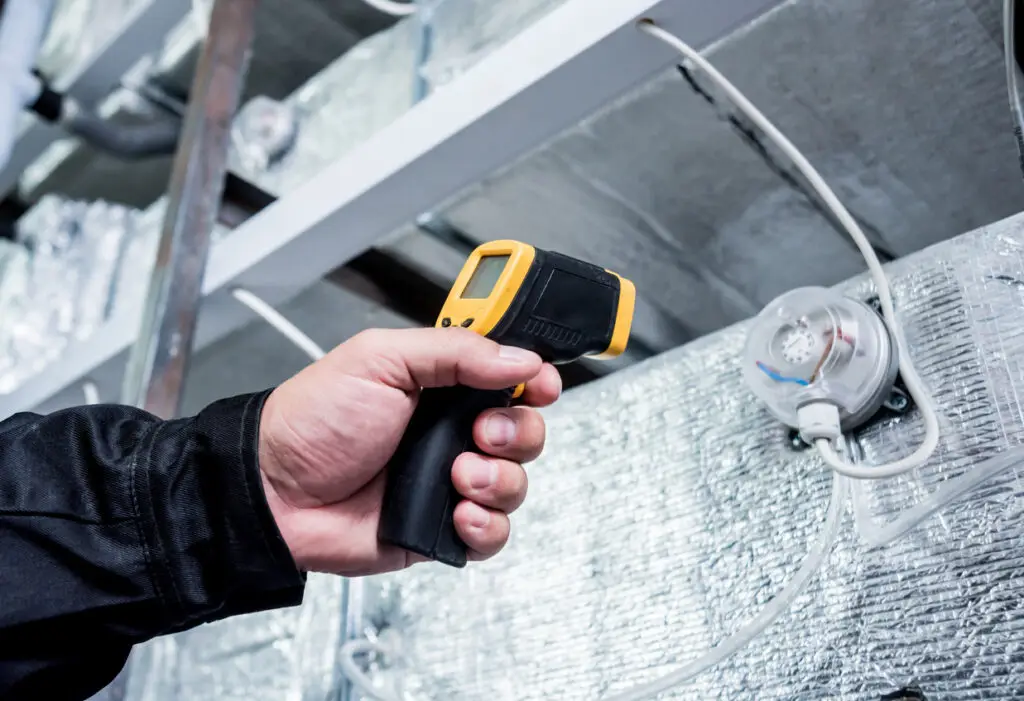
The guide highlights the tool’s essential role across multiple trades, including HVAC diagnostics (identifying insulation gaps), Electrical maintenance (detecting hazardous hot spots in panels), and Automotive repair. We provide crucial safety guidelines and best practices, emphasizing the laser’s role as a pointer only. Finally, we review the current market landscape, guiding professional handymen and contractors to select the optimal model based on required temperature range, accuracy, and necessary features for heavy-duty professional application.
1. How an Infrared Thermometer Works
An IR thermometer is a passive device. Its core functionality is based on the principle that all objects with a temperature above absolute zero emit thermal radiation.
Lens Focus: The thermometer’s lens gathers and focuses the infrared energy emitted by the target surface.
Thermopile Conversion: This focused energy hits a sensor called a thermopile, which absorbs the radiation.
Signal to Reading: The thermopile converts the thermal energy into an electrical signal, which the device’s electronics process and display as a temperature reading.
Non-Contact Advantage: The key benefit is that the reading is taken without physical contact, making it ideal for moving, hot, or inaccessible targets.
2. Key Technical Specifications for Buyers
Choosing the right IR thermometer requires understanding several critical specifications that affect accuracy and usability.
A. Distance-to-Spot Ratio (D:S Ratio)
The D:S Ratio defines the size of the area being measured relative to the distance from the target.
Definition: A ratio of 12:1 means that from 12 inches away, the thermometer is measuring the average temperature of a 1-inch diameter spot.
Importance: Always ensure the measurement spot is smaller than the object you are measuring. For small or distant targets (like a specific component on an engine or a small air vent), you need a higher D:S ratio (e.g., 30:1 or 50:1) to maintain precision. Lower ratios (5:1) are common in compact or close-range devices.
B. Emissivity (ϵ)
Emissivity is a material’s efficiency in radiating thermal energy. It is scaled from 0.00 (perfect reflector) to 1.00 (perfect radiator, or a “black body”).
Impact: Shiny, polished metal surfaces (low emissivity) reflect ambient heat, leading to inaccurate readings. Dull, non-metallic surfaces (high emissivity, ∼0.95) are easier to measure.
Recommendation: Professional IR thermometers allow the user to adjust the emissivity setting (ϵ=0.10 to 1.00) to compensate for different materials, ensuring accuracy. For general use, a fixed emissivity of 0.95 is sufficient.
C. Temperature Range and Accuracy
Temperature Range: General-purpose industrial devices typically cover −50∘C to +500∘C, while specialized high-end models can measure up to 2200∘C for metal casting or furnaces. Choose a range appropriate for your work.
Accuracy: Look for a rating of ±1.0∘C or better. Accuracy is often expressed as ±1.0∘C or 1.0% of the reading, whichever is greater.
3. Professional Uses Across Industries
Infrared thermometers are an invaluable diagnostic tool for various trades due to their speed and non-contact nature.
| Industry/Trade | Primary Use Case | Benefit |
| HVAC & Building Diagnostics | Checking air conditioning vent temperatures, spotting hot/cold spots on walls, identifying drafts, and locating insulation leaks. | Energy efficiency audits, identifying hidden moisture or mold risk, and troubleshooting HVAC system performance. |
| Electrical | Scanning circuit breaker panels, wiring, motors, and transformers to detect abnormal “hot spots.” | Proactive maintenance; prevents electrical fires and equipment failure due to overload. |
| Automotive | Diagnosing engine coolant system issues, checking catalytic converter temperature differentials, and verifying brake rotor temperature during diagnosis. | Safe, quick diagnosis of moving or extremely hot components. |
| Food Service/Safety | Rapidly checking the surface temperature of food during receiving, cooking, or holding processes. | Ensuring compliance with hygiene standards without touching the food (non-contact). |
| General Contracting/Handyman | Checking the temperature of water pipes, finding radiant floor heating lines, and verifying surface temperature before applying paint or epoxy. | Damage prevention and ensuring optimal material application conditions. |
4. Safety and Best Practices
While IR thermometers are generally safe, proper use is critical for accuracy and safety.
A. Safety Instructions (Laser Guidance)
The Laser is NOT the Measurement: The laser is only an aiming guide. The temperature is an average reading of the circular area surrounding the laser point.
Eye Protection: Never look directly into the laser beam and avoid aiming the laser at reflective surfaces near people. Although IR thermometers typically use low-power Class II lasers, direct exposure is dangerous.
B. Tips for Accurate Readings
Clean the Lens: Dust, moisture, or smudges on the lens can severely affect the reading. Treat the lens like a camera lens.
Avoid Obstructions: Steam, smoke, or heavy dust in the air between the thermometer and the target will absorb infrared energy, leading to low and inaccurate readings.
Prepare Reflective Surfaces: To accurately measure shiny metal (low ϵ), you can cover the target area with a piece of matte black electrical tape (ϵ≈0.95) and measure the temperature of the tape after it has equalized.
Acclimation: If you move the thermometer from a cold environment to a hot one (or vice versa), allow it 15-30 minutes to acclimate to the ambient temperature before taking critical readings.
5. Market Price and Buying Guide
The market for infrared thermometers is vast, with prices reflecting features, range, and brand quality.
Market Price Range (Approximate)
| Price Range (USD) | Target User & Features | Brand Examples |
| $15 – $35 (Entry-Level) | Basic DIY use, fixed emissivity (0.95), low D:S ratio (∼8:1). Limited temperature range (e.g., up to 380∘C). | Etekcity, ThermoPro (Basic models) |
| $50 – $150 (Mid-Range/Prosumer) | Handymen, mechanics, and HVAC technicians. Adjustable emissivity, D:S ratio ∼12:1 to 20:1, better accuracy, and sometimes include a K-Type thermocouple input. | Klein Tools, Fluke (Basic models), Testo (Entry models) |
| $200 – $500+ (Professional/Industrial) | Industrial maintenance, quality control, and engineers. High D:S ratios (30:1 or more), dual lasers for spot size definition, sophisticated data logging, and specialized temperature ranges. | Fluke (62 MAX Series and up), Testo (Advanced models) |
Buying Checklist
✅ D:S Ratio: Is it high enough for my typical working distance? (e.g., 12:1 for close work, 30:1 for distance).
✅ Adjustable Emissivity: Essential if you regularly measure various materials like shiny metals and paint.
✅ Response Time: Professionals need fast response times (under 250ms) for efficient workflows.
✅ Durability: Look for ruggedized construction and an IP rating (e.g., IP54 for dust and water resistance).
✅ Accessories: Consider models with a K-Type probe input, which allows for contact measurement when internal or surface accuracy is paramount.